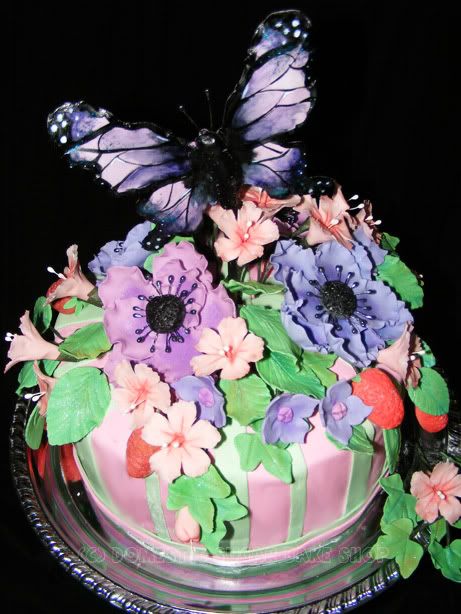
For my cakes, I like to add small details which add height and sparkle, so my Sugar Butterflies have become a hit! Here's a tutorial on how to make your own Sugar Butterflies:
As in all my tutorials, I try to keep the materials simple. In the tutorial I use a ball tool and a foam mat to ruffle the edges of my butterfly; you can skip this step and just do a flat butterfly! As always, work with what you have! You can substitute the ball tool for a toothpick and roll the edges of the toothpick on the butterfly's wings.....
What you need:

- Sugarpaste/Gumpaste
- Butterfly Cookie Cutter
- Rolling Pin
- Ball tool (optional)
- Foam Mat (optional)
- Dowel
- Food Color (gel kind like Americolor)
- Water
- Paintbrush
Step 1:

Roll out the gumpaste. You will want it to be fairly thin, maybe 2mm thick or so. Using your favorite butterfly cutter, cut out the shape of the butterfly.
Step 2:

Using a ball tool, thin out the edges of your butterfly's wings to give the wings that whimsical look. I try to spread the butterfly's wings, and leave the body thick. This will be important when you dowel your butterfly.

As you can see, the spread butterfly is larger than the cutter. This is important! Your butterfly should be wider and longer than the original cut out for when you have to put the backing on him.
Step 3:

Now, take your thin dowel and lay it down the center of the butterfly's body on the underside. Allow the butterflies to dry in this way (Overnight, or 8hours)
Step 4:

When your butterfly is nice and hard, carefully remove him and put it upside down. Roll our another butterfly to be the backing. To secure him, simply add a little water to the backside of your butterfly, then apply. Again, allow time to dry. I try to make sure the 'head' of the butterfly is sealed well, and make sure the dowel does not poke through the top of the piece. By creating a dome on the top, the stick will have something more to keep it in place.
Antenna: At this time, you can choose to place antenna into the butterfly. Simply use a floral stamen (optional, found at a craft store) in the top between the two layers. When it dries, they will be secure.
Step 5:

Now for the sun part: DECORATING! Taking your gel paste food color, water it down, and paint the edges and body of the butterfly. Keep in mind that the as the butterfly dries, the shininess of the 'paint' will dull. No worries!
Step 6:

Depending on your pattern, you can paint the inside any way you wish. For this one, I decided to make a Monarch butterfly, so I painted the 'cell' veins through the body. Once the black is done, allow time to dry (10 min?).
Step 7:

Now, when the black color is dry (this is tacky, as you can see), paint in the color. You can choose to fill all the cells, or just one or two for a stained-glass look. The Flower Garden Cake had purple gumpaste with a few cells painted.
Step 8:

Add a contrasting colour to the edges of the butterfly....

Blend the colors together with a clean, lightly dampened paintbrush. You can add in the darker black if you wish by swishing it with the paintbrush.
Step 9:

Allow time for the fully coloured butterfly to dry. If you wish, you can paint the stick the colour of the cake (for instance, I have painted them black/white before). You can even add stripes or polka-dots to the stick to give them character.

Here are the to I used on Linda's Pink Wedding Cake.

Now You too can make Butterflies! HURRAY!

4 comments:
What a beautiful butterfly. I love seeing step by step photos.
I need to try this. Looks like fun. Even if I dont have a cake to put them on just could be fun place cards!!
These are beautiful.As cake looks much beautiful. We can use such in any occasions. As these are easily available in market. We can buy such toppers online through various online stores like graciousbridal.com.
I love your work and now I follow you. I like this tutorial a lot. Bye!
Post a Comment